11 Halloween Gallery Wall Ideas for Renters
Transform your rental space for spooky season without losing your security deposit. Discover eleven ways to layer temporary Halloween prints and vintage frames using damage-free hanging techniques.
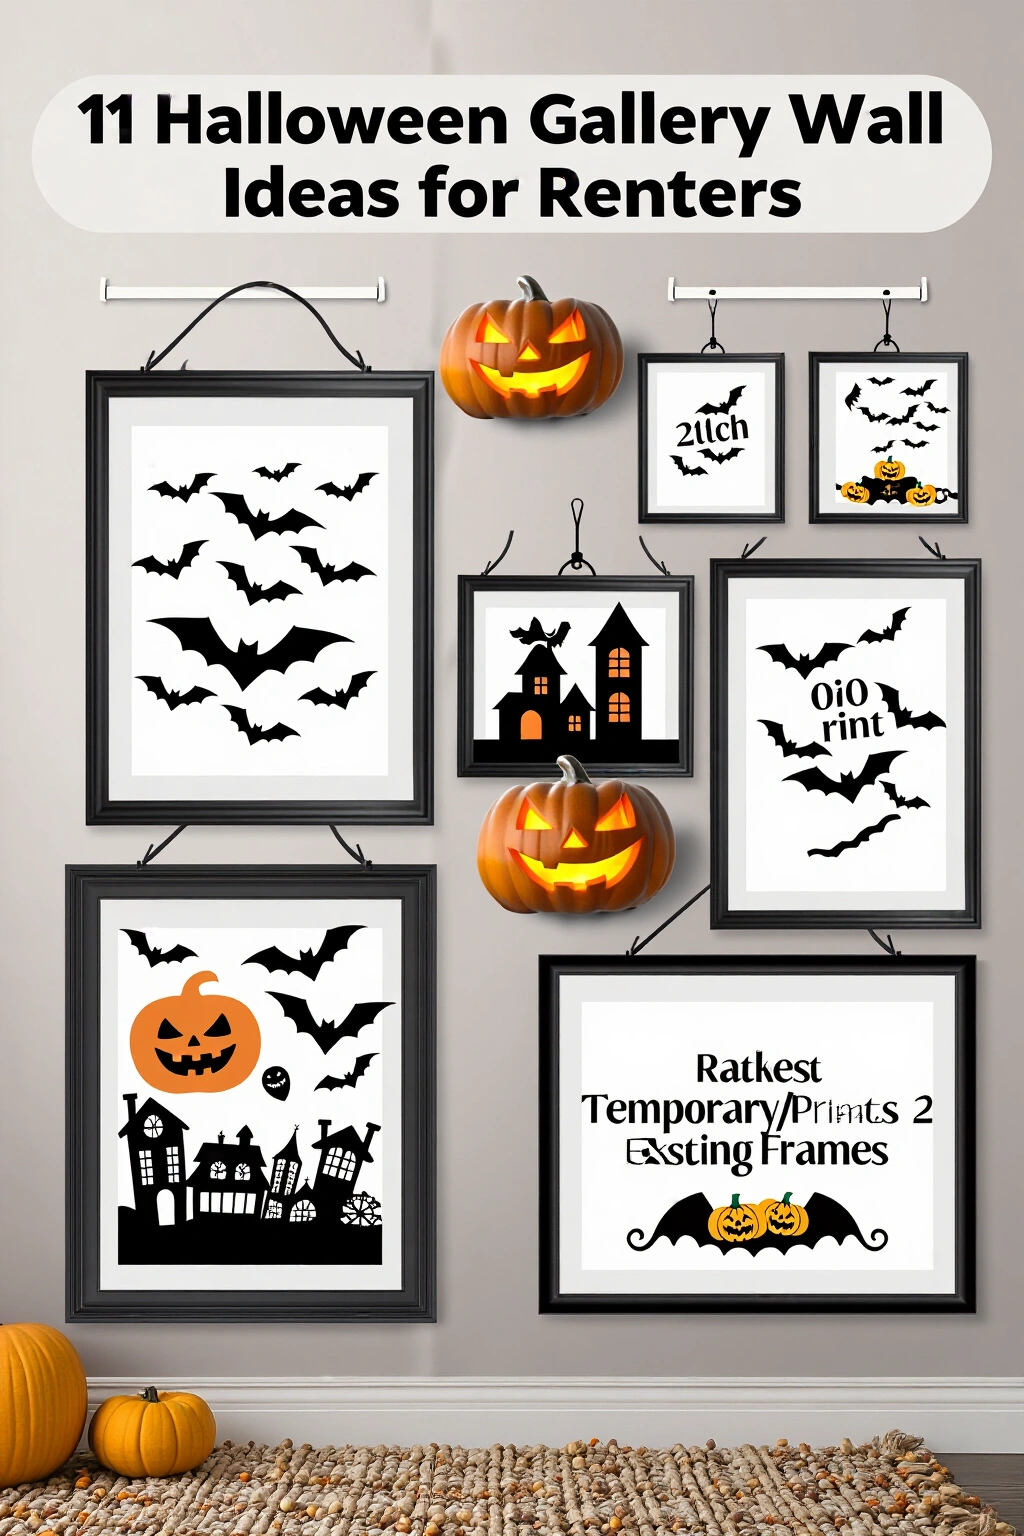
Creating a festive atmosphere in a rental can feel restrictive when you want to avoid nail holes and permanent changes. A Halloween gallery wall offers a high-impact, temporary solution that allows you to express seasonal creativity while keeping your walls intact. By mixing your existing year-round art with seasonal prints, lightweight paper goods, and non-damaging adhesives, you can curate a sophisticated spooky display. This guide explores various layouts and methods to help you blend eerie aesthetics with practical, renter-friendly installation.
1. The Vintage Monochrome Layer
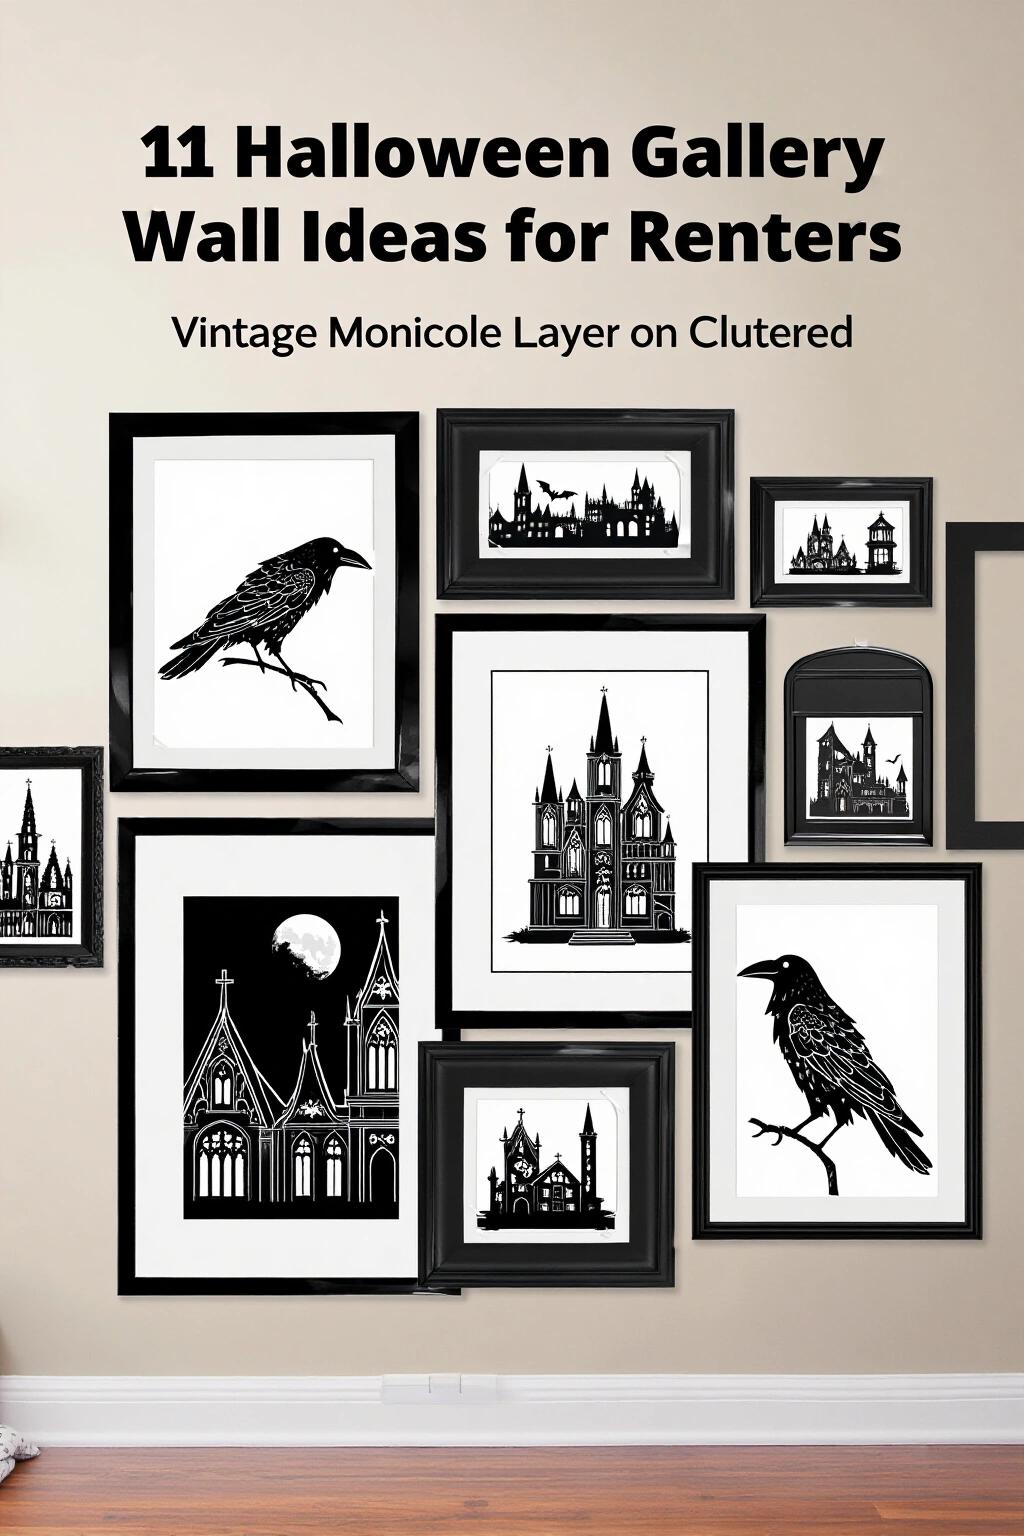
Use your existing black and white frames to anchor the look. Add small, lightweight sketches of crows or gothic architecture using adhesive putty. Place them in a cluster around your current art to create a cohesive, moody vignette that feels curated rather than cluttered.
2. Washi Tape Frames
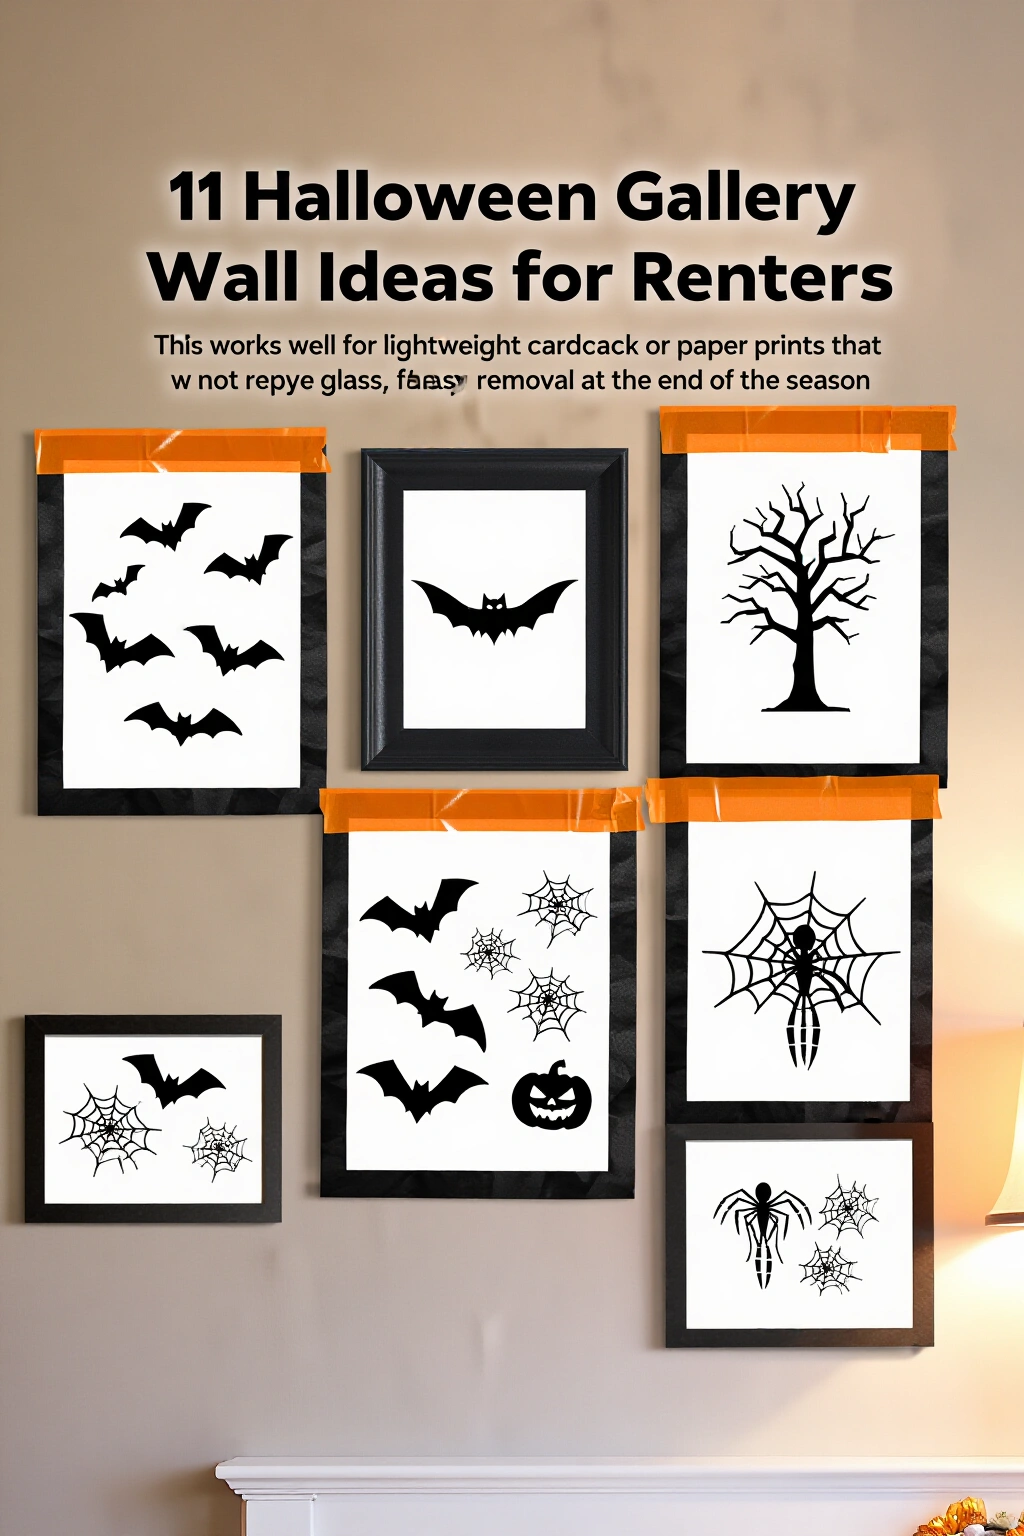
Instead of heavy frames, use black or orange washi tape to create faux frames directly on the wall around printed Halloween motifs. This works well for lightweight cardstock or paper prints that do not require glass, allowing for easy removal at the end of the season.
3. The Floating Botanical Display
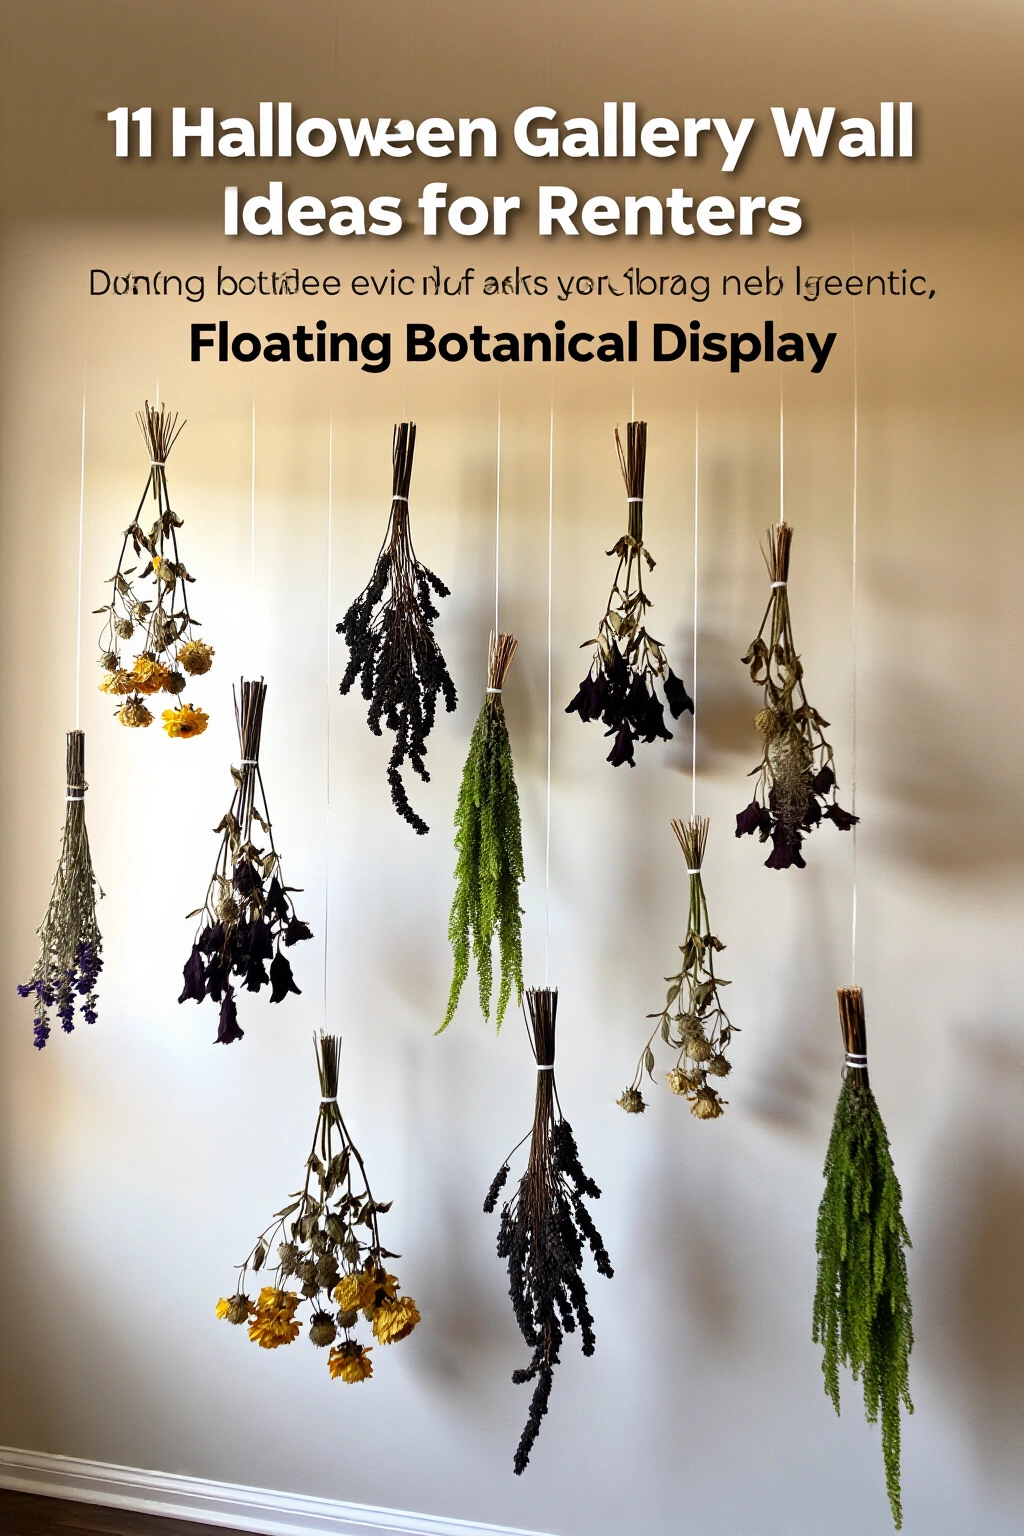
Use adhesive strips to hang lightweight, dried pressed flowers or dark botanical prints. Arrange them in a vertical line to mimic a witch's herb collection, blending seasonal elements with your existing greenery for a natural, eerie aesthetic.
4. Mixed Media Collage
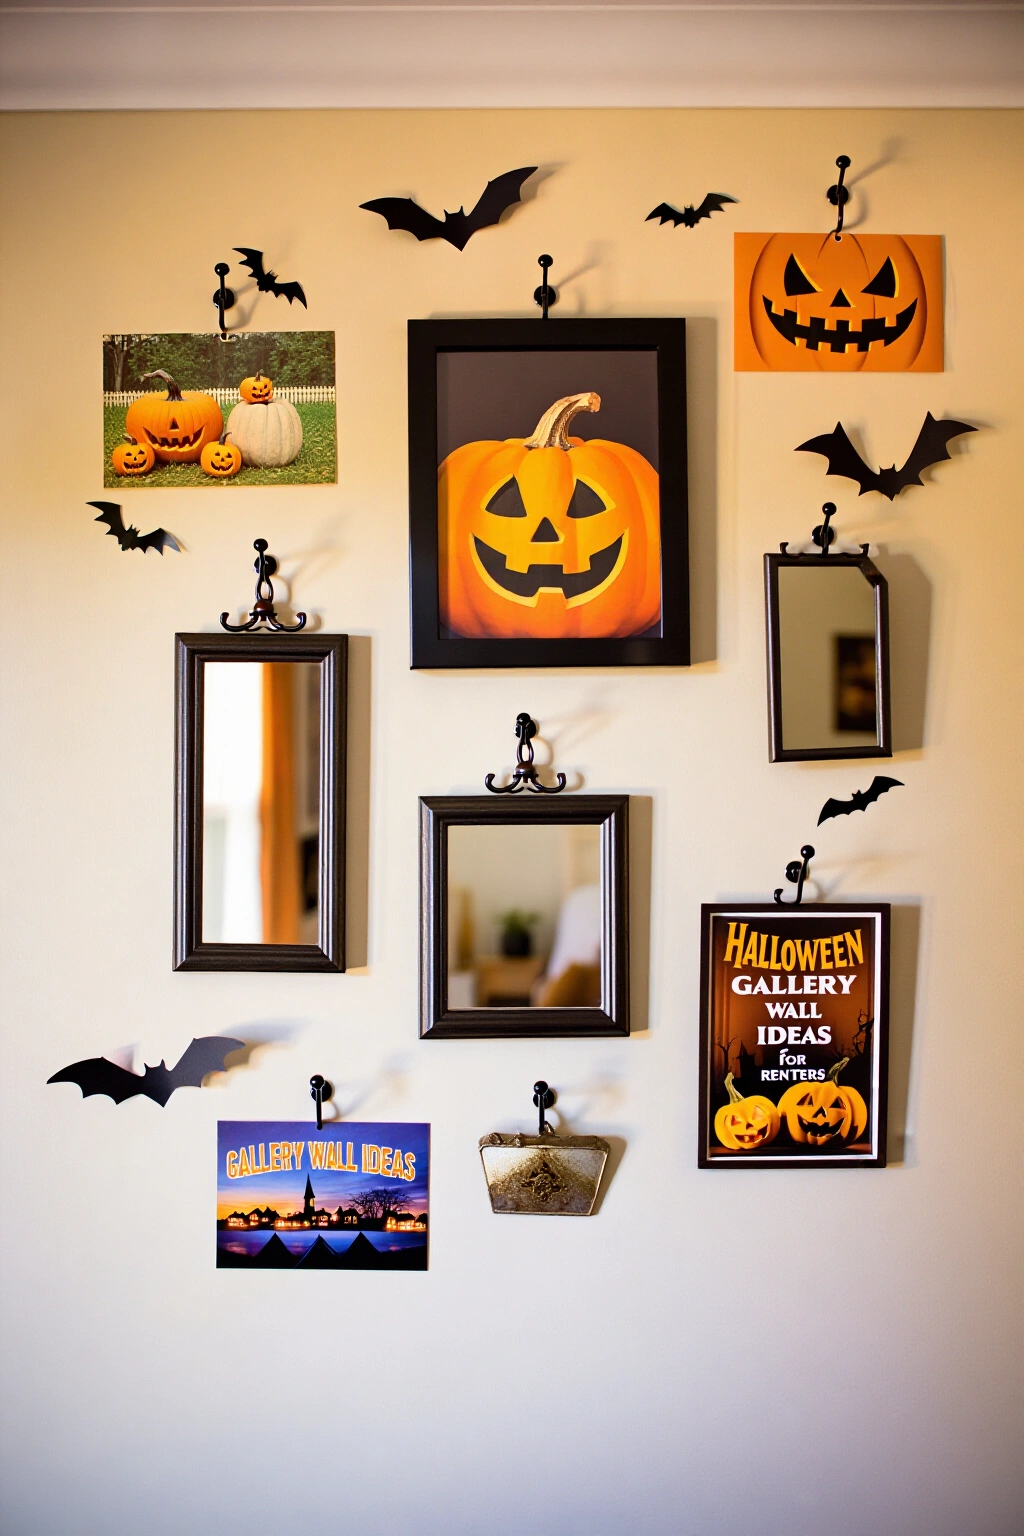
Combine old postcards, vintage-style Halloween ephemera, and small mirrors. Use small adhesive hooks to hang items of varying weights, ensuring the heaviest items are placed lower on the wall for stability and visual balance.
Keep in mind: Ensure adhesive hooks are rated for the weight of the mirrors.
5. Shadow Box Illusion
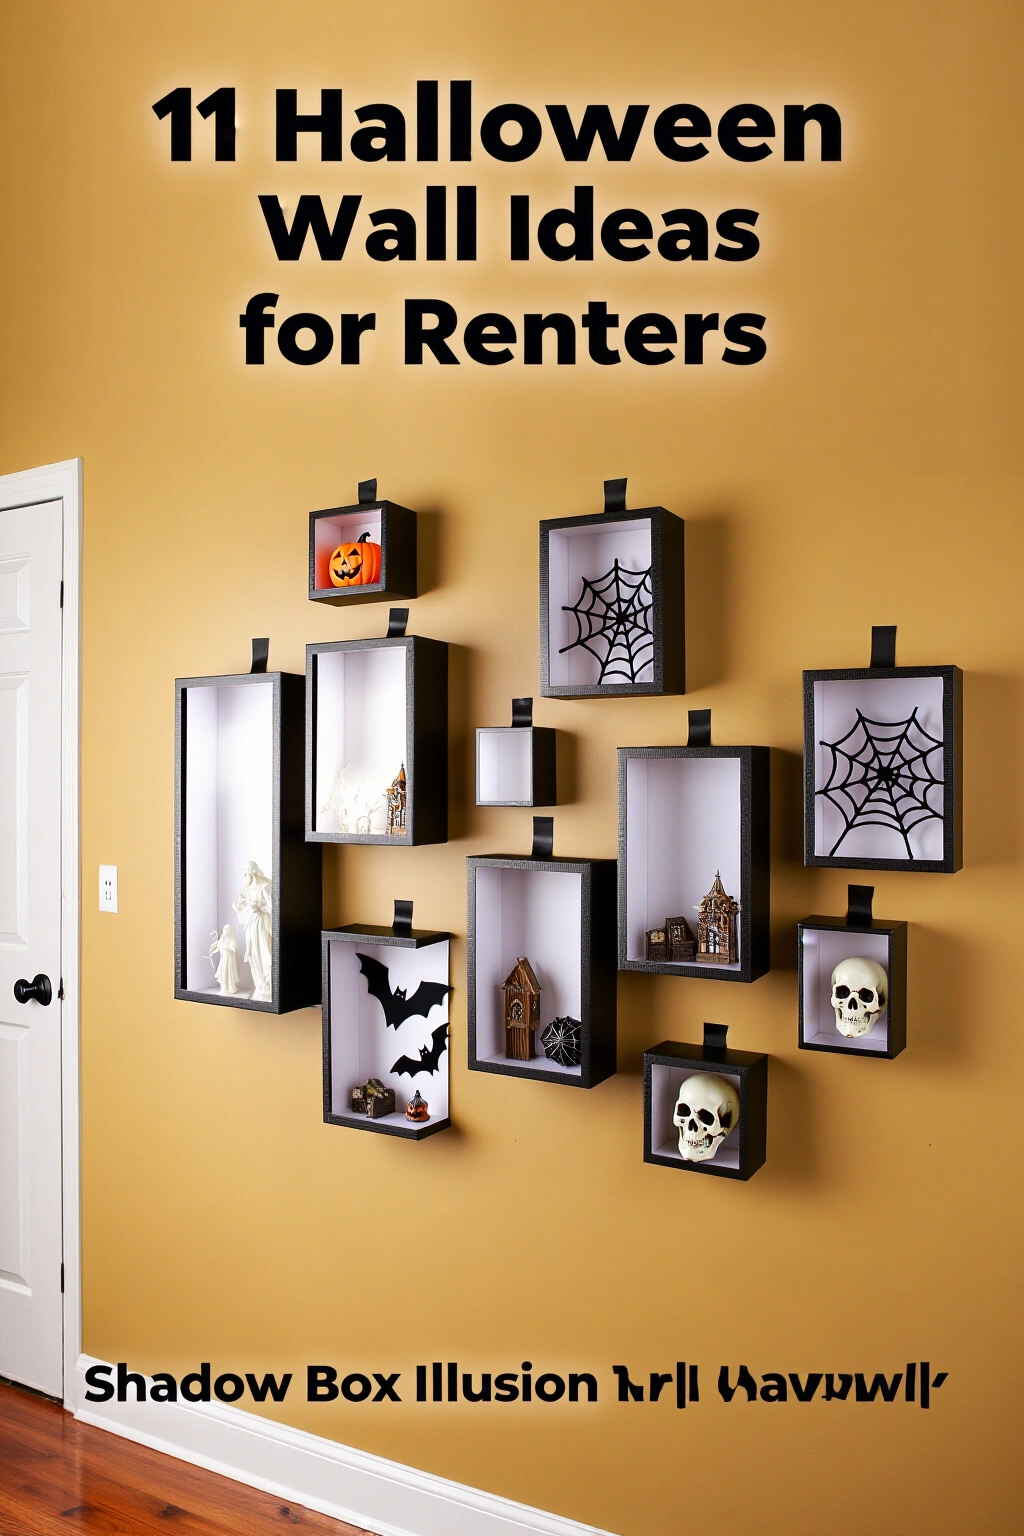
Use lightweight, plastic shadow boxes held up by damage-free adhesive strips. Inside, place small, non-flammable props like faux spiderwebs or plastic skulls. This adds depth to your gallery wall without needing deep wall mounts or heavy hardware.
6. The Triptych of Spooky Landscapes
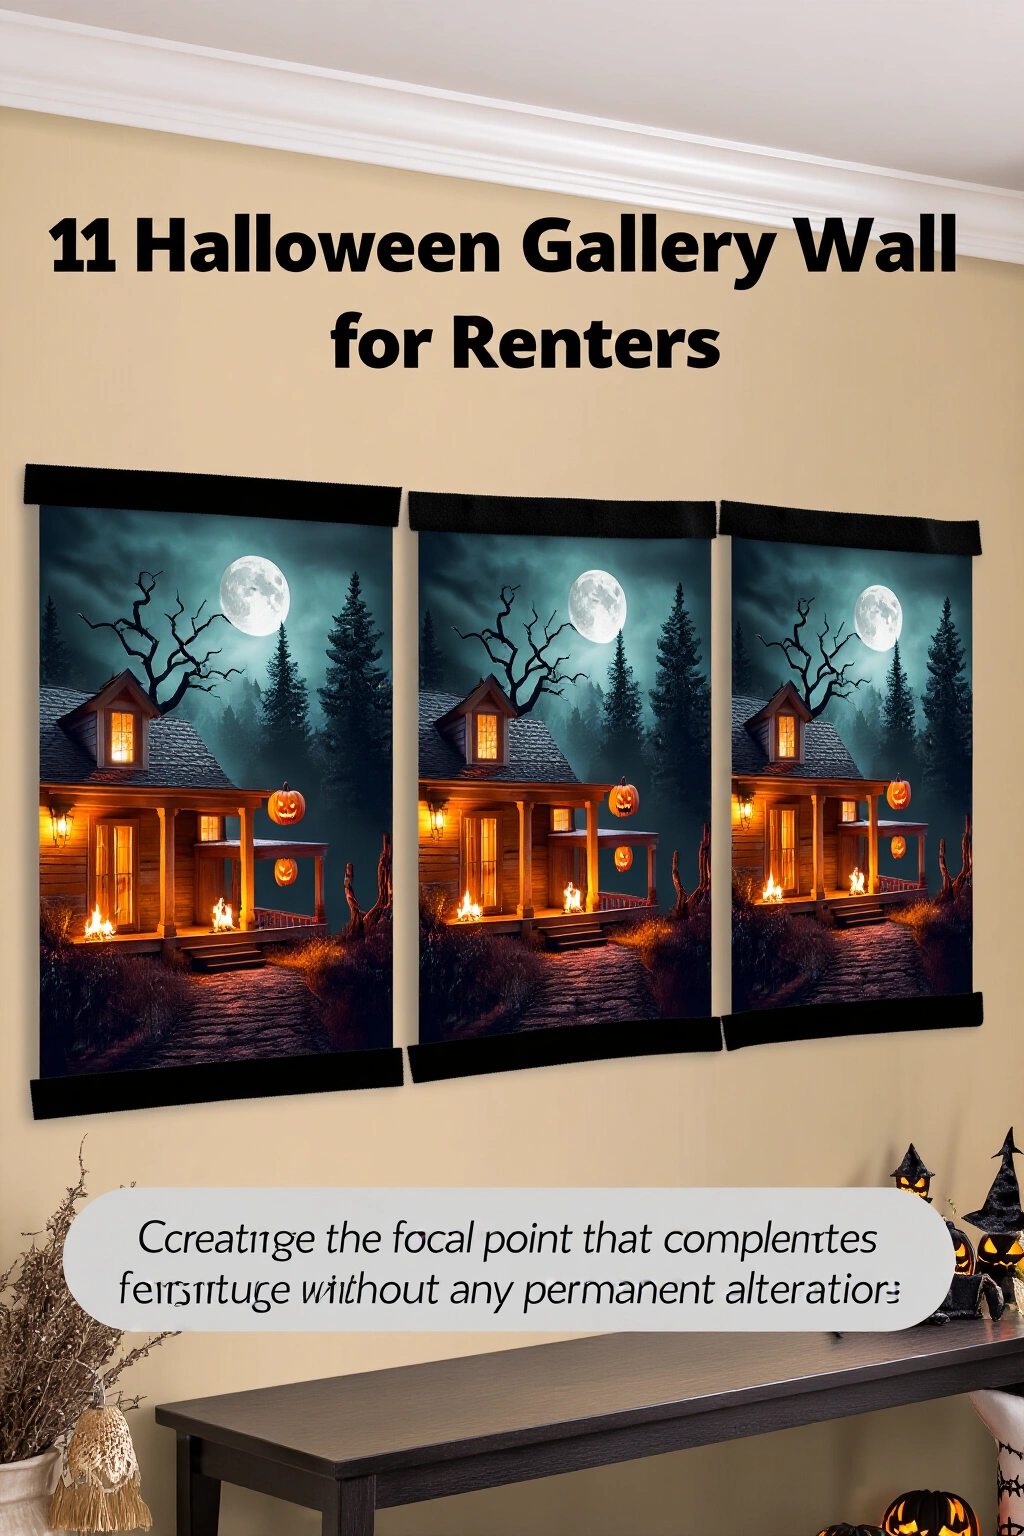
Print three matching moody landscapes on heavy cardstock. Use velcro-style adhesive strips to mount them side-by-side above a console table, creating a focal point that complements your existing furniture without any permanent alterations.
7. Ornate Frame Overlays
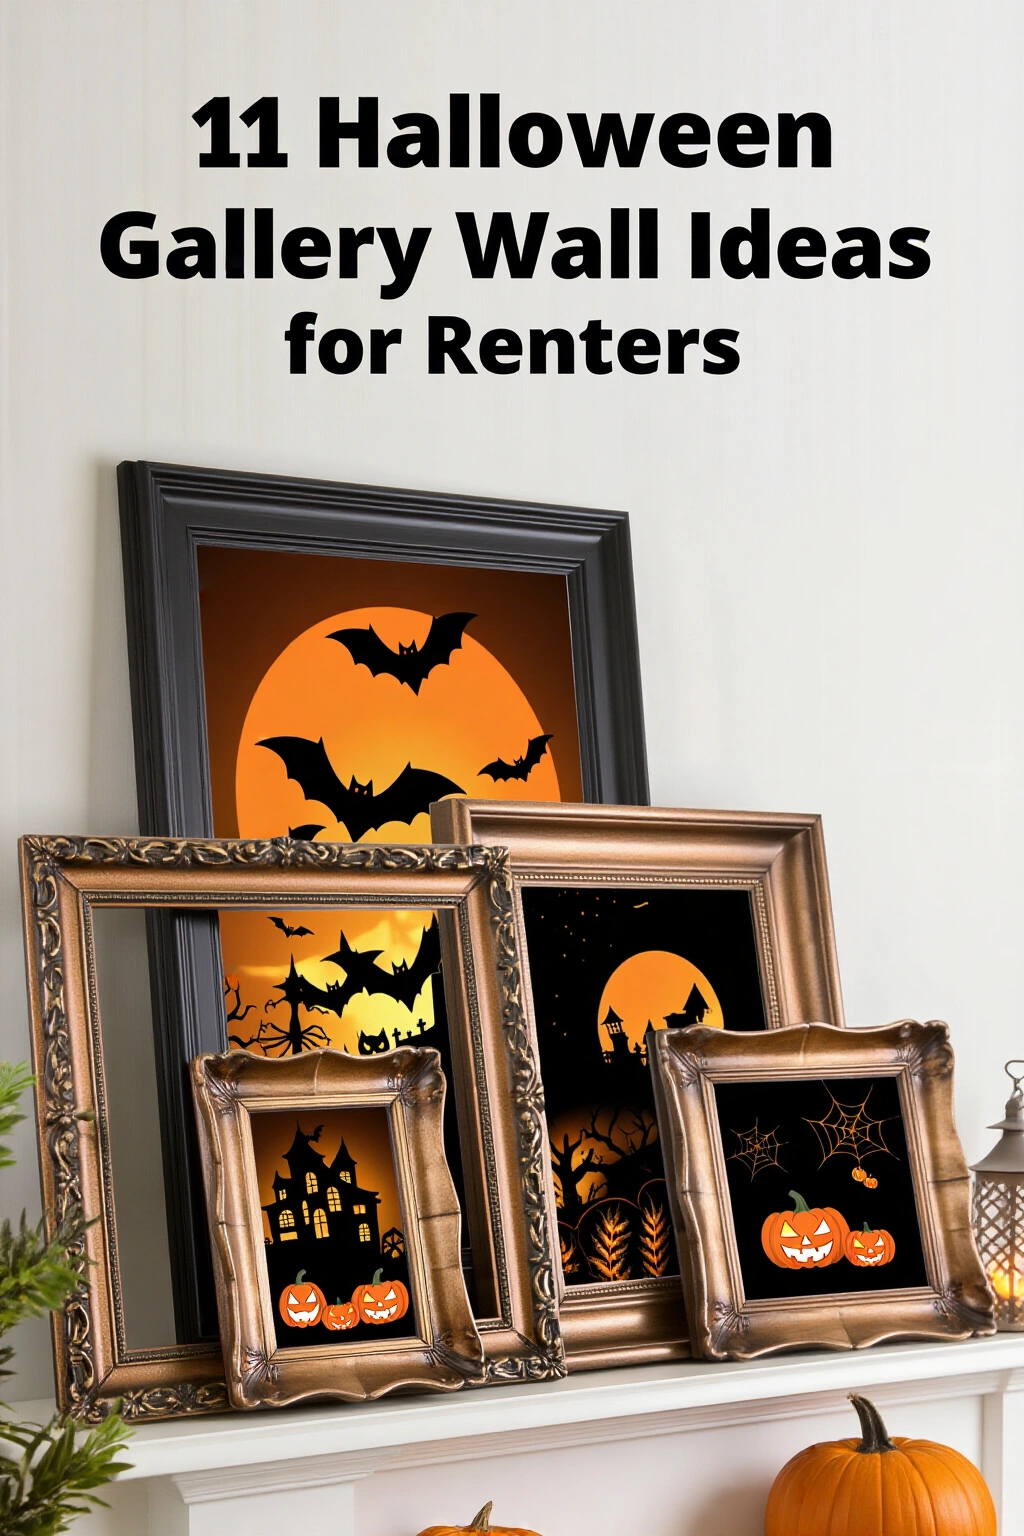
Take your existing, larger frames and lean them against the wall on a shelf or mantle. Layer smaller, lightweight Halloween-themed prints in front of them to create a sense of depth and a sophisticated, curated look.
8. Hanging Paper Lanterns and Prints
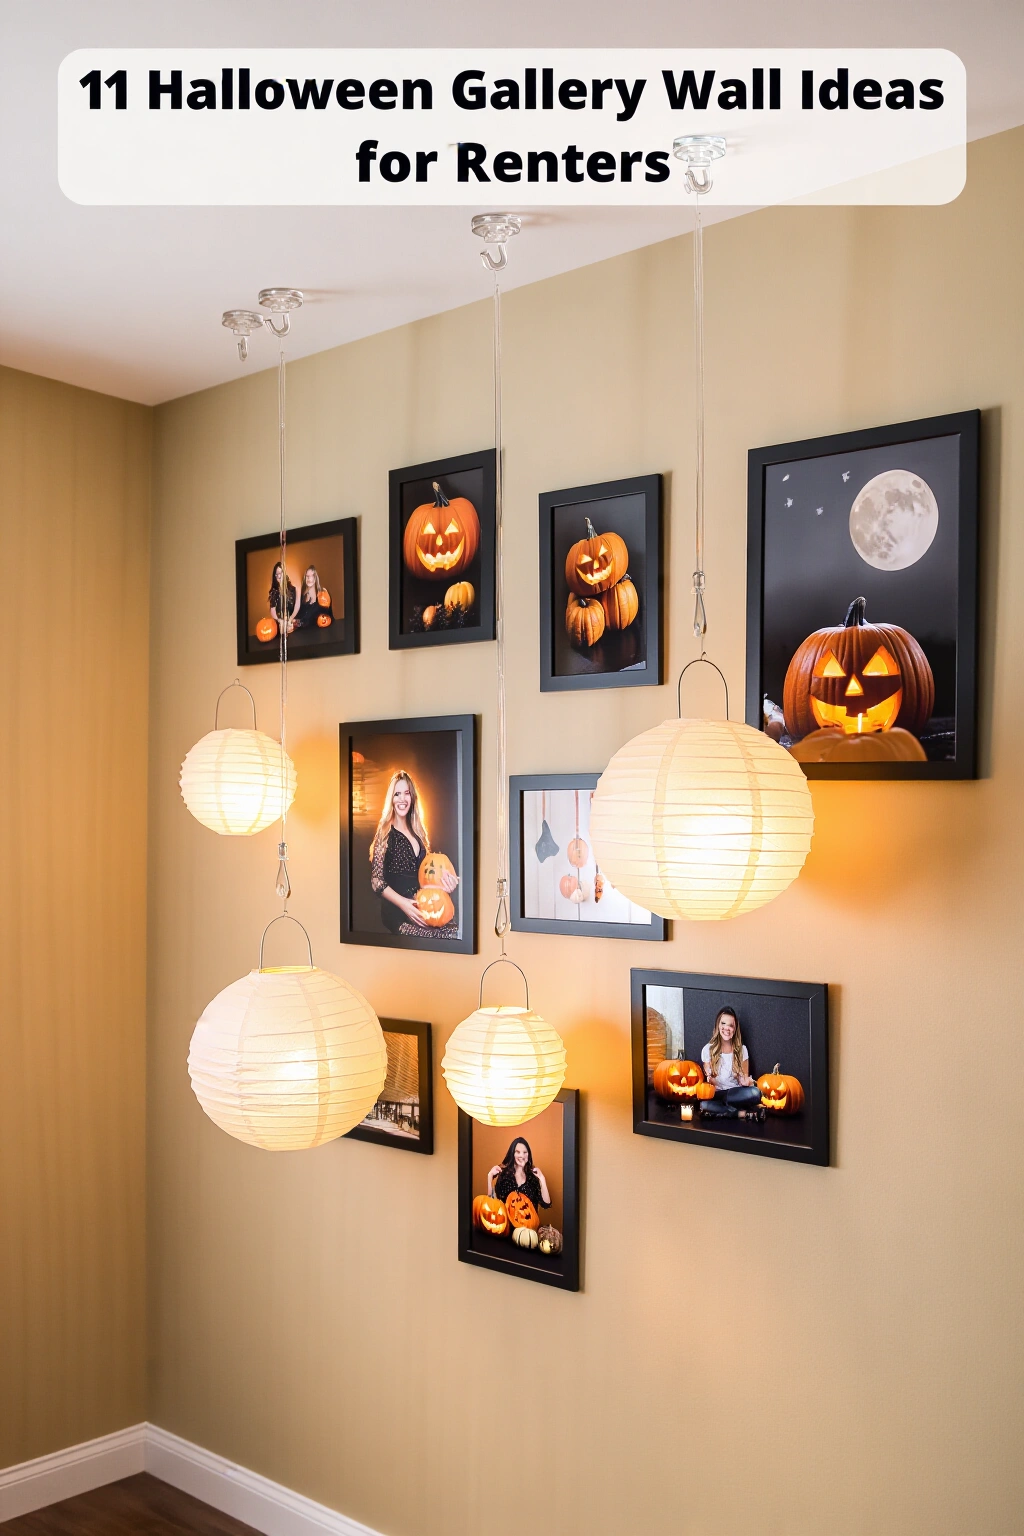
Mix flat prints with lightweight paper lanterns. Use clear adhesive hooks at varying heights to create a cascading effect, making the gallery wall feel three-dimensional and festive while keeping the installation simple.
9. The Minimalist Silhouette Wall
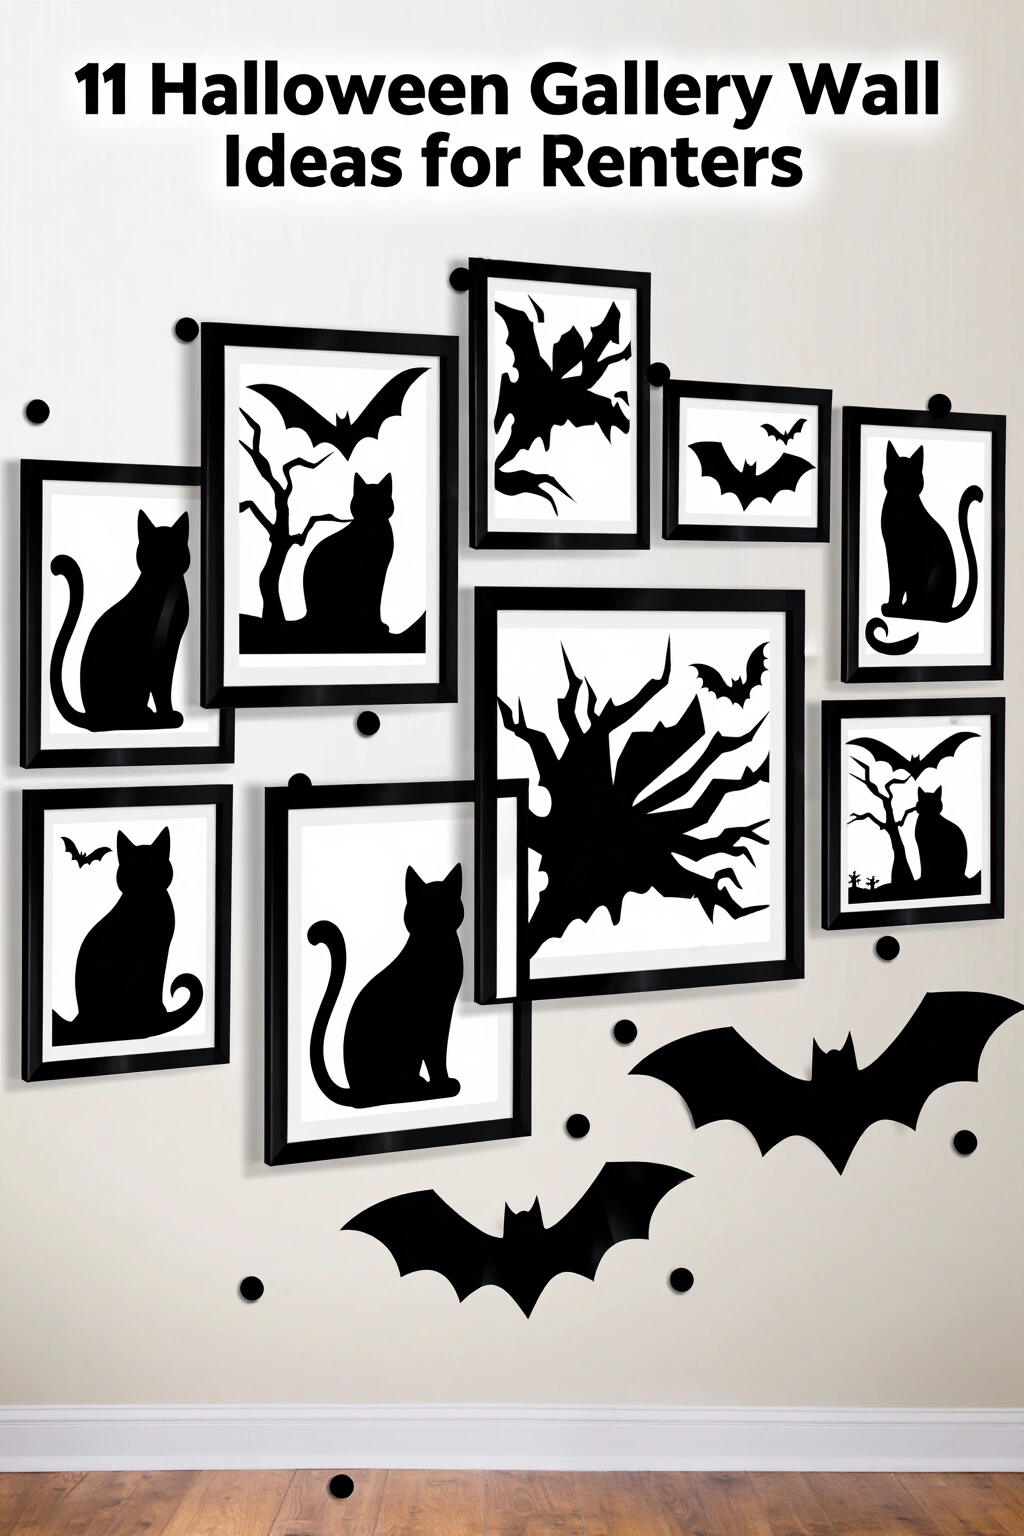
Cut black cardstock into various spooky silhouettes like bats or cats. Use small dots of mounting putty to place them around your existing framed art, making the art appear as if it is part of a nocturnal, shadowy scene.
10. Framed Fabric Textures
Stretch dark, velvet-like fabric over lightweight cardboard frames. Use adhesive strips to hang these textured pieces among your regular art to add a tactile, gothic element to the room without the weight of traditional frames.
11. The Gallery Grid
Arrange a series of small, identically sized prints in a strict grid pattern using adhesive squares. This structured look works well in hallways or dining areas, providing a clean but festive seasonal update.
Keep in mind: Check wall texture before applying adhesive squares to ensure a secure bond.
Save an idea you like, then adapt it to your own room, budget, and household.